1. Introduction: Kitchen Island Attachment Methods
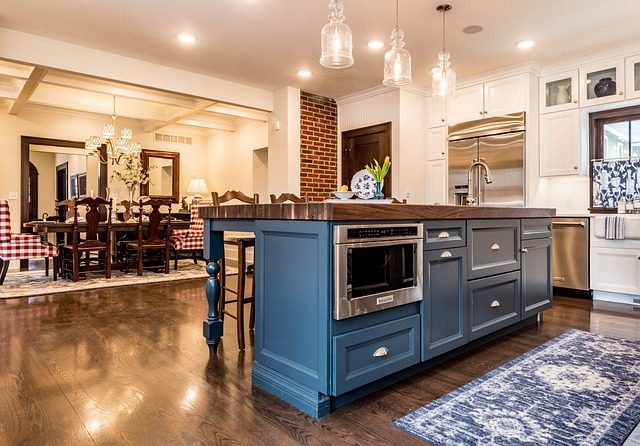
Kitchen islands are not simply some extravagant accessories incorporated in the interior design of the modern kitchen; they are an essential component of the kitchen that plays the dualists of a functional furniture piece and an ornament. Kitchen islands are a useful feature that can be applied to extend the working area and for storage or additional seating. Nevertheless, selecting the style of the island is not enough – it is also vital to know more about how to attach the island to the kitchen. Following is a step-by-step procedure on how to join island cabinets, which will include planning before, during, and after joining.
2. Types of Kitchen Island Configurations
Single vs. Multi-Unit Islands
Many designs are available in kitchen islands, and these have distinct features that can serve different functions depending on the kitchen design and the needs of the homeowner.
Single-cup islands are usually small and easy to work with, while multi-cup islands are larger and have more storage and working space. However, due to their balance and uniformity, multi-cup islands require great attention to fixtures and methods of attachment.
Movable vs. Fixed Islands
Movable islands are on wheels, so you have a lot of choice in how you place your kitchen islands, while fixed ones are firmly installed on the floor, which gives you more firmness and less change in the place of your kitchen islands. The attachment methods will, however, vary between these two types because fixed islands will need extensive fastening as they will need to be firmly attached to the structure.
3. Tools and Materials Needed

In the preparation phase for installation, one needs to ensure that he or she has assembled all the requirements needed for the task.
Essential Tools
- Tape Measure
- Level
- Clamps
- Drill and Bits
- Screwdriver
- Stud Finder
- Carpenter’s Square
- Rubber Mallet
Required Materials
- Wood Screws or Bolts
- Brackets
- Wood Glue or Construction Adhesive
- Filler (Wood or Caulk)
- Sandpaper
- Paint or Finish
4. Preparing the Workspace
Therefore, one should ensure that the kitchen area is well prepared to accommodate a kitchen island properly.
Measuring and Planning
The first step when installing this particular type of equipment is to accurately determine the size of the space in which the island will be located. Ensure there is adequate space around walls where people can move in the kitchen and movements of the doors of appliances. Some final touches include mapping the island on the floor to ensure it is correctly sited and that the cabinets are aligned.
Clearing and Organizing the Area
The area that will be used for observation must be free of interference, and therefore, all furniture, appliances, or clutter must be cleared off the floor. It is most important that all tools and materials are properly arranged at that time so that no errors occur during installation.
5. Aligning Island Cabinets
Ensuring that island cabinets are well aligned correctly to achieve a professional look is very important.
Positioning the Cabinets
First, move the island cabinets to roughly where they are going to stay permanently. Make sure to use a level so that you can be sure that the cabinets are erect on the floor and do not have any tilt.
Ensuring Level and Alignment
Level the base properly and make corrections to have a flat cabinet base. This may call for inserting a thin spacer beneath the cabinet bases. Additional screws or bolts may be used to fix the various parts while an. An option to eliminate movement is using clamps on the cabinets.
6. Attachment Methods Overview
As for how one can join island cabinets, numerous options have relative advantages.
Fastening Techniques
Some of the techniques utilized are the use of screws and bolts besides brackets. Therefore, choosing the right method of fixing it is based on the kind of cabinet and the material used in making the cabinets.
Types of Fasteners (Screws, Bolts, Brackets)
- Wood Screws: Ideal for wood cabinets and provide a strong, secure attachment.
- Bolts: Offer more strength than screws, suitable for larger or heavier cabinets.
- Brackets: These are used for additional support, especially on the inside corners of cabinets.
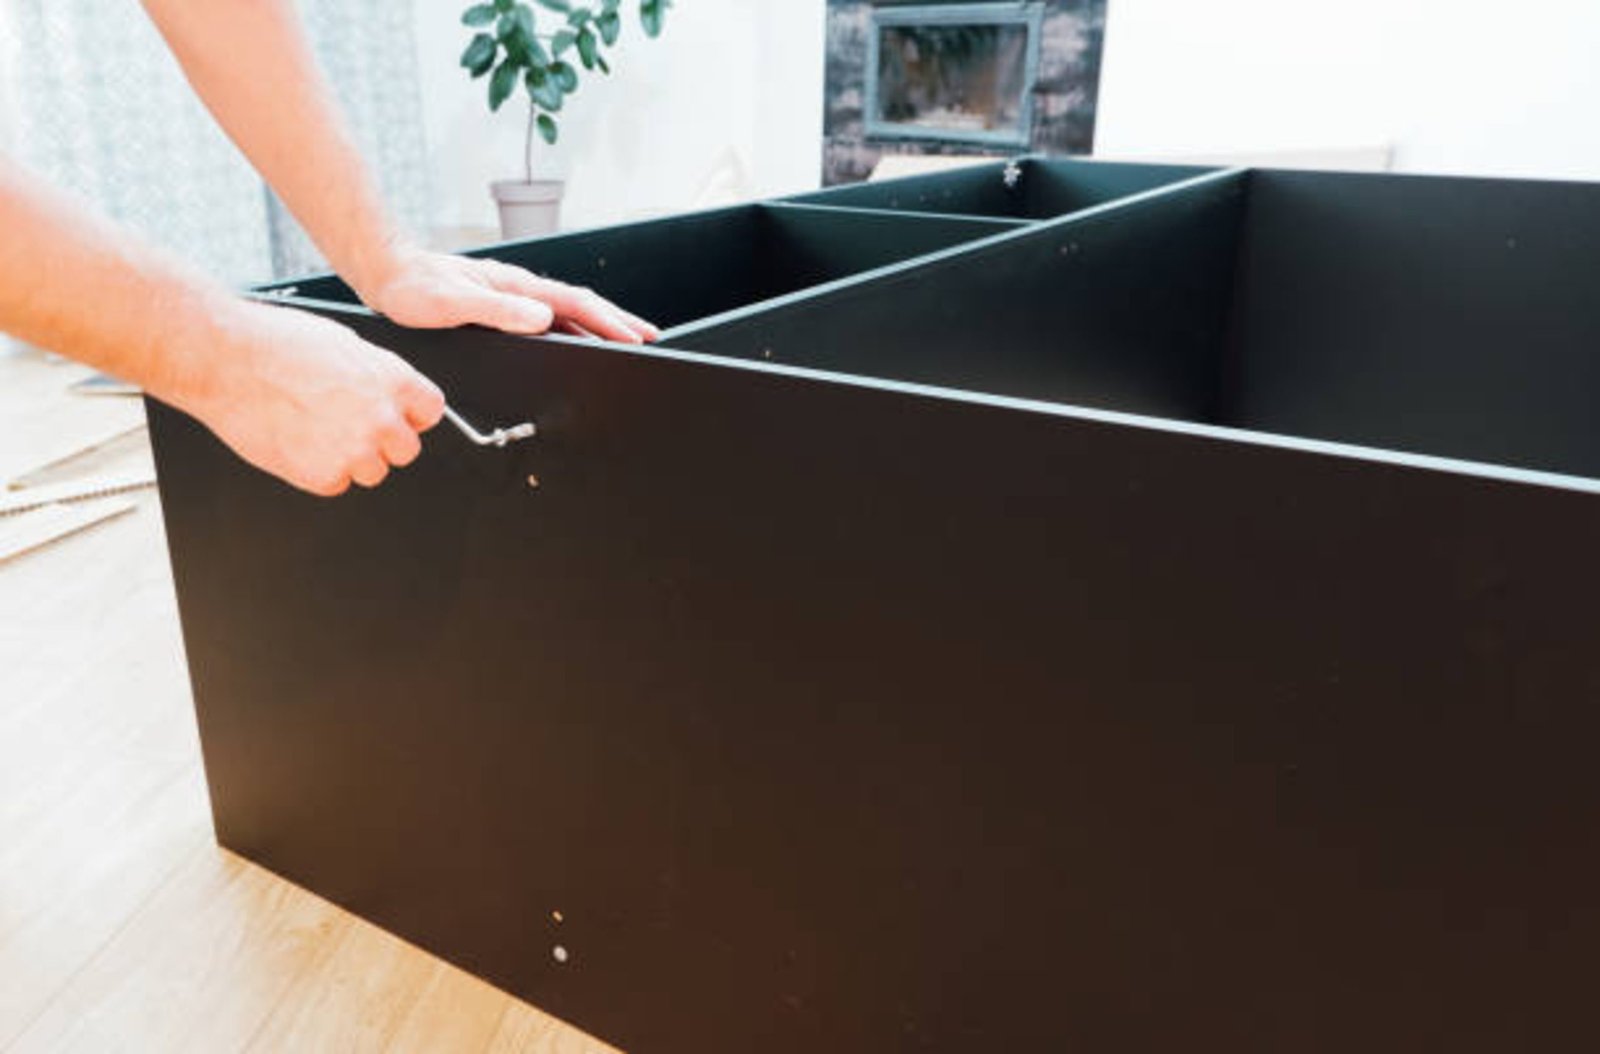
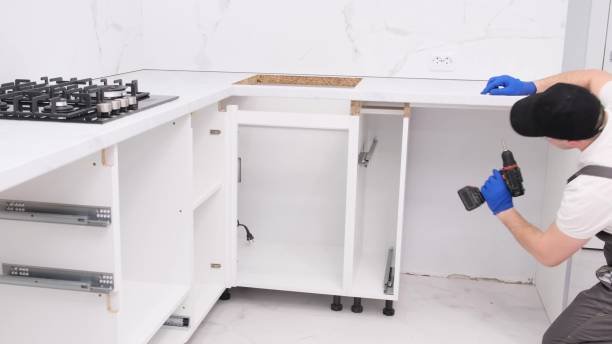
7. Step-by-Step Guide: Attaching Cabinets

Drilling and Prepping the Cabinets
Boreholes on the side arrangements of the cabinets, which you will be fixing. This helps in avoiding splits to the wood, and also it becomes easier to tighten screws or bolts on the wooden material.
Securing Cabinets Together
After the pilot holes are drilled, they should be fastened using wood screws or bolts to hold the cabinets tightly. Start from the top and move to the bottom while keeping in mind that the distance between the topmost and the bottom cabinet should equal the actual height of the cabinets.
Final Adjustments
Once all the cabinets are fixed, you should make some final touches to align them and ensure that all of them are level. If they need to be twisted or slightly out of place, use a rubber mallet to do this since it does not harm the wood.
8. Specialized Attachment Techniques
Using Dowels and Biscuits
Cabinet joining can also be done using dowels and biscuits to give a more neat appearance. This process involves drilling holes in the parts to be joined, inserting the dowels or biscuits, and joining them with wood glue.
Adhesive Methods
The common practice is to use construction adhesive together with the screws or bolts to enhance the holding power of the joint. Use the adhesive, especially on the joints of the cabinets, to increase their stability.
9. Finishing Touches
Filling Gaps and Seams
Subsequently, once the cabinets are fixed tightly, you can sand or use a filler to cover the joints or gaps. This enhances the lifetime of the installation and beautifies the resulting installation.
Applying Caulk and Trim
Paint a thin line of caulk where the base of the island meets the floor and all visible joints. Trims can add some sleekness and uniformity to the work, and besides, the trims offer an opportunity to hide some small flaws that may be present.
10. Common Mistakes to Avoid
Misalignment Issues
Most people do not get it right when fixing the cabinets, and this is due to incorrect alignment. It is also important to ensure the accuracy of measurements and alignment before proceeding with finalisation.
Inadequate Fastening
One disadvantage of such a design is that using improper or fewer fasteners results in instability. When selecting fasteners for your cabinet, always ensure that you choose the right type for the material used and the size of the cabinet you want to secure.
11. Expert Insights
Tips from Professional Installers
Some of the information that professional installers had to share includes leveling throughout the procedure and not rushing the leveling stage. It is better to spend several minutes, an hour, or even days or weeks to do the best job you can do now so that later on you won’t have to spend time redoing it.
12. Case Study: A Real-Life Installation
Challenges and Solutions
One of the real-life installations seen by a house owner was problems with the floors, and they were not level. The way of solving this problem was to provide adjustable legs for the island cabinets and fasten them with screws and brackets to enhance stability.
13. Future Trends in Kitchen Island Design
Emerging Styles and Materials
Future trends suggest an increase in sustainable materials and modular designs, which would allow for more customization and flexibility in kitchen island configurations.
14. Practical Applications and Tips
Customization Ideas
You ought to incorporate some of the custom cooktop features, such as wine hoods, pull-out trash, and other drawer cabinets, into your kitchen island.
Maintenance Tips
Also, always ensure that the screws or bolts that hold the island are tighter by making a regular inspection, and for the appearance of the island, one has to make sure that any caulk or wooden filler that was used is applied well.
15. Conclusion
Kitchen islands are an integral part of modern kitchens as they serve both functional and design purposes. If you follow the above-expounded kitchen island attachment methods correctly, you can install, fix, and enjoy your kitchen island for many years. Whether it is your first time installing cabinets or you have done it several times, you will find all the details you need here to join island cabinets successfully.
FAQS
[saswp_tiny_multiple_faq headline-0=”h3″ question-0=” Why is it important to properly attach kitchen island cabinets together?” answer-0=”It is very important to well fasten cooking island cabinets to avoid future problems with an island. Proper installed island results in efficient surface to cook, eat and store foods in a secure environment. Unsecured cabinets may open, fall off or even get damaged in one way or another thereby posing a danger as well as affecting the flooring of your kitchen and any other fixture surrounding them.” image-0=”” headline-1=”h3″ question-1=”What are the best kitchen island attachment methods?” answer-1=”It is advisable depending on the kind of cabinets used and the layout of the kitchen to apply different methods of attaching it to the walls. Some of the common practice include using woodscrews, bolts and brackets besides sophisticated methods such as dowels or biscuits for a neat and clean look. Construction adhesives can also be used together with these methods in order to enhance the stability of the structure.” image-1=”” headline-2=”h3″ question-2=”Can I install a kitchen island by myself, or should I hire a professional?” answer-2=”I must say that anyone who has some basic skills in do it yourself with essentials and tools can easily install a kitchen island. Nevertheless, such work is best assigned to a professional to guarantee a job well done and most importantly a safe one particularly where the floor in the kitchen area is uneven or where complicated and heavy cabinets are in the offing. There are various methods of attaching solar panels to a roof and a professional installer will ensure that he advices of the best techniques to adopt in your project. ” image-2=”” headline-3=”h3″ question-3=” What tools and materials do I need for attaching kitchen island cabinets together?” answer-3=”For materials needed, you will require a measuring tape, level, clamps, drill, screwdriver, stud finder, carpenter’s square, rubber mallet and the appropriate fastener be it screws or bolts. Other important items include the wood glue, the construction adhesive, filler and sand paper which will guarantee the correct hold at the end of the construction.” image-3=”” headline-4=”h3″ question-4=”How do I make sure my kitchen island cabinets are level and aligned?” answer-4=”First begin by installing the cabinets and place them as they will finally be arranged and level the surface using a level. Level all of the cabinets to the floor, in case it becomes necessary to employ spacers in order to accomplish this. Cabinet can sue clamps to secure the cabinets as you fix them in place. Make sure to adjust the process with appropriate measurement and alignment to make sure that the output does not get misaligned.” image-4=”” headline-5=”h3″ question-5=” What are common mistakes to avoid when attaching kitchen island cabinets?” answer-5=”Three mistakes can be seen through which people often go wrong; improper positioning of the cabinet, insufficient or wrong kind of screws, and not cleaning the floor well where the work is being done. It is also possible to make a mistake when fixing something hence, it is advisable to take time in ensuring that everything is in place properly and securely fixed so that it may not cause us problems in future.” image-5=”” headline-6=”h3″ question-6=”Can I use adhesive methods alone to attach kitchen island cabinets?” answer-6=”Although they can add more strength to the combination between the cabinets, it is improper to use construction glue solely to fix the kitchen island cabinets . Cohesive materials should always be effectively combined with other complementary fastening methods such as screws, bolts or a bracket so as to guarantee stability of the system.” image-6=”” headline-7=”h3″ question-7=” What are the future trends in kitchen island design?” answer-7=”Some of the trends that are likely to be seen in the future regarding the kitchen island design include; The use of green materials The kitchen island designs that will be favored in future are those that contain modules as well as integrated adjustments. Being up to date with new trends will assist you finalize your choice of the best kitchen island that will also provide value addition to your house in future.” image-7=”” count=”8″ html=”true”]