Introduction: How to Make Custom Cabinet Door Hardware
Doors of cabinets create ultimate shades and a personal touch; hence, custom door hardware is a unique way to enhance your living area. Whether you are undertaking a kitchen, remodel or looking to add that special touch to your bathroom cabinetry, knowing how to make custom cabinet door hardware can be a fun and profitable project. Here, you will find all the information you need regarding cabinet hardware starting from the fundamentals and ending with the process of installation of personalized buys.
Understanding Custom Cabinet Door Hardware

What is Cabinet Door Hardware?
It consists of the numerous handle and knobs that are used to open as well as the decoration used on the cabinet doors. This generally includes handles/ knobs, hinges, and sometimes more ornamental features such as back plates or other profiles. These components not only serve functions but are also major contributors to the overall look of the cabinetry.
Types of Cabinet Door Hardware
There are several types of cabinet door hardware, including:
- Knobs and Pulls: These are the most common types of hardware used to open and close cabinet doors.
- Hinges: These allow the doors to swing open and closed smoothly.
- Latches and Catches: These keep cabinet doors securely closed.
- Backplates: Decorative elements that sit behind knobs or pulls, adding an extra design layer.
Benefits of Customizing Cabinet Hardware

Customizing your cabinet hardware allows you to:
- Personalize Your Space: Tailor your cabinetry to fit your style preferences.
- Enhance Durability: Choose materials that are more robust and long-lasting.
- Add Value to Your Home: Unique, well-crafted hardware can increase your home’s aesthetic and financial value.
Materials and Tools Required
Essential Tools
Before you begin creating your custom cabinet door hardware, gather the necessary tools:
- Screwdrivers (flathead and Phillips)
- Drill with various drill bits
- Measuring tape and ruler
- Files and sandpaper
- Clamps
- Saws (circular or jigsaw, depending on the material)
- Workbench with a vice
Recommended Materials
The materials you choose will significantly impact your hardware’s final look and feel. Common materials include:
- Wood (oak, maple, or walnut for a classic look)
- Metals (brass, stainless steel, or iron for a modern or industrial style)
- Glass or ceramic (for decorative knobs or pulls)
- Screws and bolts in the appropriate size for your project
Design Considerations for Custom Hardware
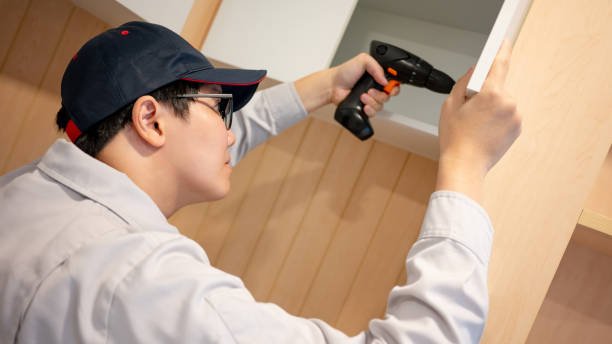
Choosing a Style That Matches Your Space
When selecting your cabinet hardware, think about the aesthetic of the rest of your room or house. Do you want the furniture to look elegant and ultra-contemporary, or do you opt for a more countryside look? A style you select must be appropriate to your cabinets and the room’s general design.
Measuring for Accurate Fit
Proper measurements are needed to arrive at the right sizes, enhancing the fit. I suggest using a tape measure to work out the appropriate hardware dimensions to fit your cabinet doors properly.
Selecting the Right Finish
When it comes to selecting the finisher you will choose, it will create a huge difference in the look and feel of your hardware. There are choices from pearl nickel or chrome look, royal brass nickel, or even bronze nickel giving it a classic look. You should also take in mind the hardware and fixtures already in the room while deciding on the finish.
Step-by-Step Guide to Making Custom Cabinet Door Hardware
Step 1: Planning and Design
The first step in designing your system is to draw a rough representation of the design on paper. Determine the dimensions, shape, and style of the hardware. This is the blueprint when you are writing the crafting.
Step 2: Cutting and Shaping the Material
Choose the right saw and then cut your material into the required shape and size. Special tools are needed when cutting metal; a circular saw with a metal cutting blade is recommended, while a jigsaw is recommended for wood or softer material.
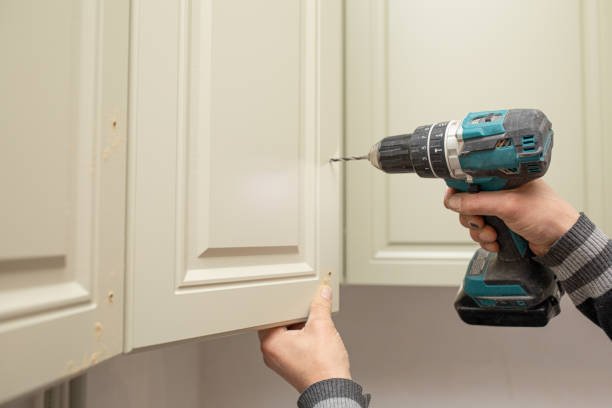
Step 3: Drilling Holes for Screws
Screw pilot holes in the areas where screws are going to be used to fix the hardware on the cabinet doors. It is important to ensure these holes are well-spaced and well-aligned to ensure that no fitting challenges are encountered.
Step 4: Assembling the Hardware
Place all the parts of your hardware together and make sure that each piece is well-fitted. A clamp is crucial when working with parts that you will fix by joining them using glue or welding.
Step 5: Sanding and Smoothing
The general rule regarding joints is to flatten joints where the connection is visible and smooth any junction where the connectivity is concealed with fine-grit sandpaper. This step is important to avoid rough edges that are usually harsh to the skin and eyes.
Step 6: Applying the Finish
Paint the hardware using the kind of finish that you have selected. When using paint, it is advised that one uses a primer before applying two to three layers of paint with sufficient drying time between each layer. For metals, use a lacquer or clear coat to avoid the formation of rust and add sheen to your car.
Step 7: Installing the Hardware on Cabinet Doors
Lastly, fit your hardware on the cabinet doors you will be creating. Now insert a screw by a screwdriver and fasten it through the holes you have drilled for it and also make sure that all parts are as they should be and working fine.
Advanced Techniques and Customization Options
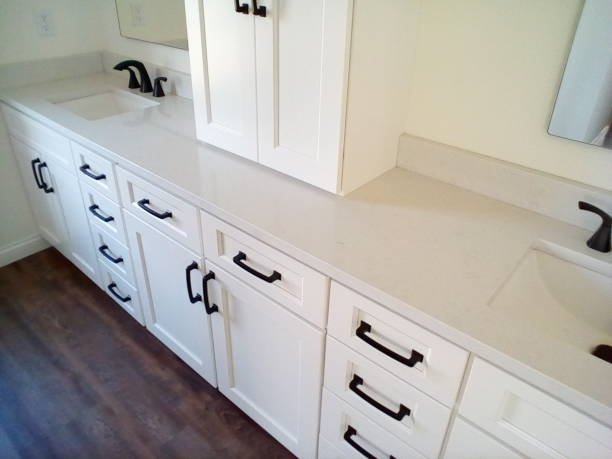
Creating Unique Shapes and Patterns
This hardware can also be customized by changing the shape and creating interesting patterns on the surfaces. This may be elaborate shapes in timbers or special contours in iron as it is shaped out.
Using Different Materials for Aesthetic Appeal
Combine different materials, such as wood and metal or glass and ceramic, to create striking contrast and texture in your hardware.
Incorporating Decorative Elements
Add decorative elements like inlays, engravings, or painted designs to make your hardware truly one-of-a-kind.
Expert Insights and Tips

Insights from Professional Cabinet Makers
Professional cabinet makers recommend starting with simpler designs before moving on to more complex projects. Master the basics first to ensure a strong foundation in hardware making.
Common Mistakes to Avoid
Avoid common mistakes, such as incorrect measurements or skipping the sanding process. These can lead to misaligned hardware or a rough, unprofessional finish.
Future Trends in Cabinet Door Hardware
Sustainable and Eco-Friendly Materials
There is a clear trend toward sustainability, and customers, it seems, are now increasingly keen to incorporate reclaimed such as wood or recycled metal into their custom hardware designs.
Technology Integration in Cabinet Hardware
Modern technological advances are being adopted in door hinges and handles, such as soft close, touchless, or voice openers, and the incorporation of smart locks in home automation systems.
Practical Applications and Maintenance Tips
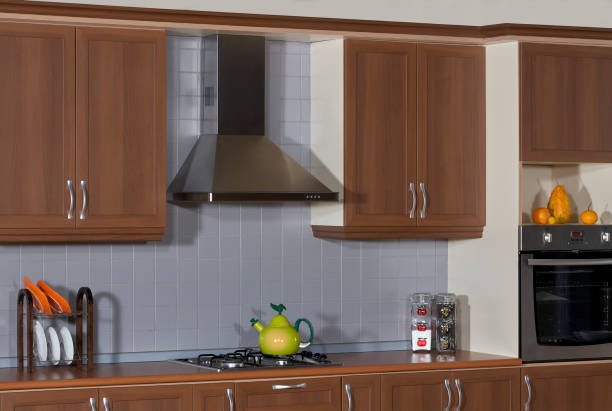
How to Maintain Custom Cabinet Hardware
Cleaning it weekly with a damp cloth and mild detergent is advised so that your hardware remains shiny and responsive. Please do not use harsh chemicals, detergents, or abrasive cleaners because it will tarnish the stove’s finish.
Easy Repairs and Touch-ups
For little scratch marks or dents, you can buy touch-up kits from hardware stores. Regular checkups are useful as they enable you to identify and repair growing defects before they get out of hand.
Conclusion

4 Comments on “How to Make Custom Cabinet Door Hardware-Complete Guide”